ItsGeekToMe.co
The official home of It's Geek to Me on the web!
Issue #434: November 15–21, 2015
Q: I know next to nothing about computers. I don’t even know what an IP is, just like Hillary! (You should see what I went through to get to your column to ask a question!) I couldn’t navigate Facebook & hate it anyway, so I got off of that! I have a Dell computer with Windows 7. I go on to Word (office), to write letters! My son knows all about comps & he helps me! He was trying to find out how I can delete the letters I’ve written, which are saved! I don’t want my letters flowing around out there should I die! (I have COPD & am living on borrowed time from God.) While looking at my problem he accidently removed my “Save as” from my Word site! I don’t know what the repercussions will be, but I have a lot of letters to write as my printer was out for a while. My son explained to me what is bad about this but I don’t know how to explain it to you! If you can help, I want you to tell him how to get back my “Save as” and how to delete the letters once I get them to “Save as” again.
– Nancy A.
Defuniak Springs, Florida
A: My, what a fun read, Nancy! I don’t understand all the terminology you used, but I think I understand the issue! So, let’s get started!
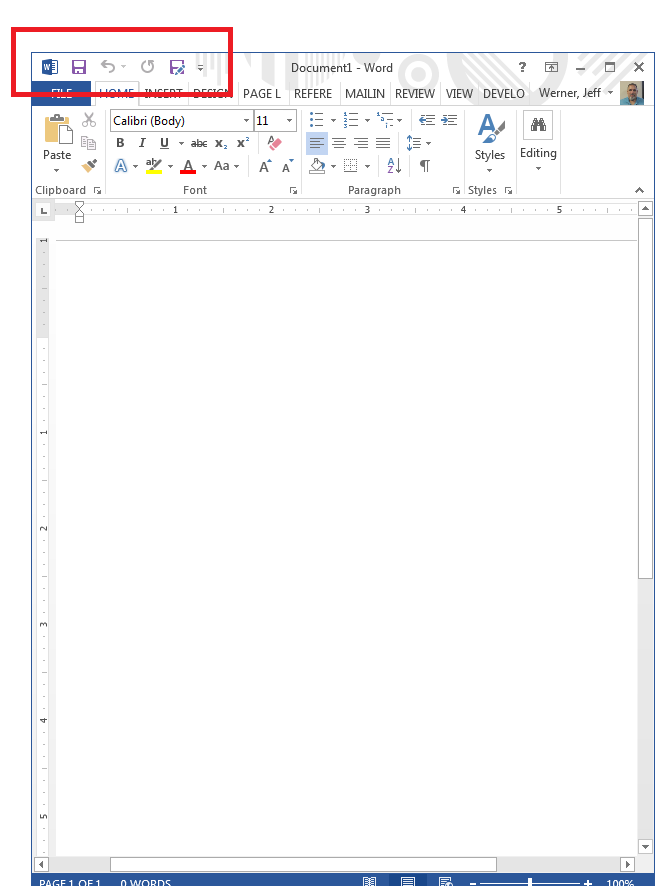
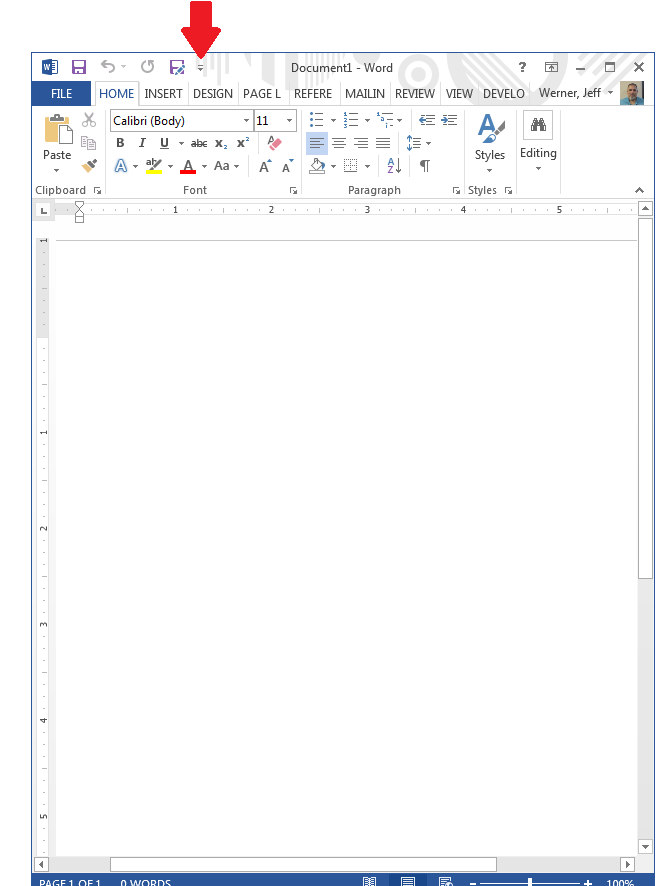
First of all, it always helps for you to provide complete information about what software you’re using. In this case, it would have helped to know the actual version of Word that you are working with, because that allows me to give more precise steps for you to follow. Barring that, in your case, my best guess is that you are talking about the “Quick Access Toolbar” that has lived in the title bar of Microsoft Word versions since at least Office 2007. The icon looks like a little floppy disk (which nobody uses anymore) with a little pencil on it (also which nobody uses anymore). If you look to the right of the Quick Access Toolbar, you’ll see a little symbol that looks like a downward-pointing triangle with a line above it. Click that, and you’ll get a menu labeled “Customize Quick Access Toolbar”. From this menu, choose “More Commands…”. A very intimidating looking dialog will appear. Basically, it is a list of all available commands on the left, and on the right is a list of all commands that appear in the Quick Access Toolbar. To put “Save As…” back, scroll the left-hand list until you find it (they’re in alphabetical order). Click it with your mouse to highlight it, then click the button between the lists that says “Add >>”. You should see your selection appear in the right-hand list. Click “Ok” in the lower-right corner of the window, and your Quick Access Toolbar will be restored.
I want to take a moment here to make sure you know that with most Windows applications, there is more than one way to activate commands, and the “Save As…” command is no exception. If you click on the “FILE” tab near the top of the Window, you’ll see “Save As” listed there. There is also a keyboard shortcut: F12. Pressing that key is exactly the same as clicking the button that you usually use in the Quick Access Toolbar. It’s also worth knowing that if the document you’re working on is new and hasn’t yet been saved and given a name, clicking on “Save” actually activates “Save As…” to give you a chance to supply the file name.
Now, as far as deleting your saved files is concerned, that is not a function of Word, but rather something you do in Windows File Explorer. It is going to require you to know where you saved them, or for you to use the search features built-in to Windows to locate them. Modern versions of Word save document files with an extension of .docx, and you supplied the rest of the name when you clicked “Save As…”. Deleting them is pretty straightforward. Locate them, select them with your mouse, then hit the “Delete” key on your keyboard, or right-click on the file and select “Delete” from the context menu that appears. These files will be removed from their location, and placed in your system’s Recycle Bin. To permanently remove them, you’ll need to empty the Recycle Bin when you’re through deleting the files.
Bonus Web-only Content:
Here are some screenshots of what I was talking about in today’s column. This is the Quick Access Toolbar. (Notice that mine still has the “Save As” button on it):
This is the little button you click to get the “Customize Quick Access Toolbar” menu:
And finally, this is the very intimidating looking “Customize Quick Access Toolbar” dialog. This capture shows it with “Save As” already highlighted:

Leave a Reply
You must be logged in to post a comment.